Ollama is designed for convenient deployment and operation of large models on local machines. It may be one of the most user-friendly tools for deploying and running large models locally, especially when combined with Open WebUI, making it accessible to everyone.
Deployment
macOS & Windows
Deployment is relatively simple. Download and install the client software based on your operating system:
Linux
It is recommended to use a Linux server for deployment due to the hardware requirements of large models.
Bare Metal Deployment
Step 1: Download & Install
Download and install Ollama with a single command line command:
curl -fsSL https://ollama.com/install.sh | shIf there are no errors, it will prompt you to the default configuration file location:
Created symlink /etc/systemd/system/default.target.wants/ollama.service → /etc/systemd/system/ollama.service.Next, check the service status:
systemctl status ollamaIf it shows running, the service is successfully running. To verify installation, check the version number:
ollama -vStep 2: Service Startup
Open a browser and go to:
http://127.0.0.1:11434/If you see Ollama is running, the service has been successfully started.

Step 3: Modify Configuration (Optional)
If you need personalized configurations, modify the default configuration file located at:
/etc/systemd/system/ollama.serviceUse any editor to open it, vim is recommended. By default, it can only be accessed locally. If you need other machines in the LAN to access (e.g., embedded devices accessing the local computer), configure HOST to listen to any IP source:
[Service]Environment= "OLLAMA_HOST=0.0.0.0"If you need to change the model storage location for easier management, configure OLLAMA_MODELS:
[Service]Environment= "OLLAMA_MODELS=/data/ollama/models"By default, models are stored in:
- macOS:
~/.ollama/models - Linux:
/usr/share/ollama/.ollama/models - Windows:
C:\Users\xxx\.ollama\models
If you have multiple GPUs, you can configure CUDA_VISIBLE_DEVICES to specify the GPUs to use, default uses multiple cards:
Environment= "CUDA_VISIBLE_DEVICES=0,1"After modifying the configuration, restart ollama:
systemctl daemon-reloadsystemctl restart ollamaNote: These two commands are usually used together: whenever you modify any service configuration file (e.g., .service file), you need to run systemctl daemon-reload to make the changes take effect.
Docker Deployment
We also introduce Docker deployment, which is more friendly for beginners without complex environment configurations.
Step 1: One-Click Installation
For a lightweight server without GPU:
docker run -d -v ollama:/root/.ollama -p 11434:11434 --name ollama --restart always ollama/ollamaParameters explanation:
docker run: Used to create and start a new Docker container.-d: Run the container in detached mode (background).-v ollama:/root/.ollama: Mount the host'sollamadirectory to the container's/root/.ollamadirectory for data persistence.-p 11434:11434: Map the host's port 11434 to the container's port 11434 for external access.--name ollama: Specify a name for the new container for easy management.--restart always: Automatically restart the container when it exits, whether due to an error or manual stop.ollama/ollama: Specify the Docker image to use.
Check the Docker volume:
docker volume lsIf you have an Nvidia GPU:
docker run -d --gpus=all -v ollama:/root/.ollama -p 11434:11434 --name ollama ollama/ollamaAfter successful installation, ensure the firewall on the server allows port 11434, then open a browser and go to:
http://127.0.0.1:11434/If you see Ollama is running, the service has been successfully started.
Step 2: Enter the Container
To execute commands inside the container:
docker exec -it ollama /bin/bashParameters explanation:
exec: Execute commands in a running container.-it: Run interactively and allocate a pseudo-TTY.ollama: Name of the container./bin/bash: Command to execute, here it opens a Bash shell.
After execution, you will enter the container's command line, which is no different from using your local machine.
If you don't want to enter the container, you can also run a model directly with:
docker exec -it ollama ollama run ollama3.2The model will automatically offline if there are no requests for a period of time.
Usage
Common Ollama Commands
What commands does Ollama have?
ollamaUsage: ollama [flags] ollama [command]Available Commands:serve Start ollamacreate Create a model from a Modelfileshow Show information for a modelrun Run a model, will automatically download the modelpull Pull a model from a registrypush Push a model to a registrylist List downloaded modelsps List running modelscp Copy a modelrm Remove a modelhelp Help about any commandFlags:-h, --help help for ollama-v, --version Show version informationUse "ollama [command] --help" for more information about a command.Ollama Model Library
Similar to Docker Hub hosting Docker images, Ollama has a Library hosting supported large models.
From 0.5B to 236B, various models are available. Choose the appropriate model based on your machine configuration. The official also provides recommendations for model sizes based on RAM and commands.
Note: Ensure at least 8GB of RAM for running a 7B model, 16GB for a 13B model, and 32GB for a 33B model. These models require quantization.
Custom Models
What if the model you want to use is not in the Ollama model library?
GGUF (GPT-Generated Unified Format) Models
GGUF is a binary format defined by llama.cpp for efficient storage and exchange of large model pre-training results. Ollama supports importing GGUF models through Modelfile files.
Example with a local llama3 model:
Step 1: Create a file named Modelfile and specify the llama3 model path:
FROM /root/models/xxx/Llama3-FP16.ggufStep 2: Create the model:
ollama create llama3 -f ModelfileStep 3: Run the model:
ollama run llama3API Services
In addition to running models locally, you can deploy models as API services.
Run the following command to start a REST API service:
ollama serveExamples:
- Generate a response:
curl http://127.0.0.1:11434/api/generate -d '{ "model": "llama3.2", "prompt":"Why is the sky blue?", "stream":false }'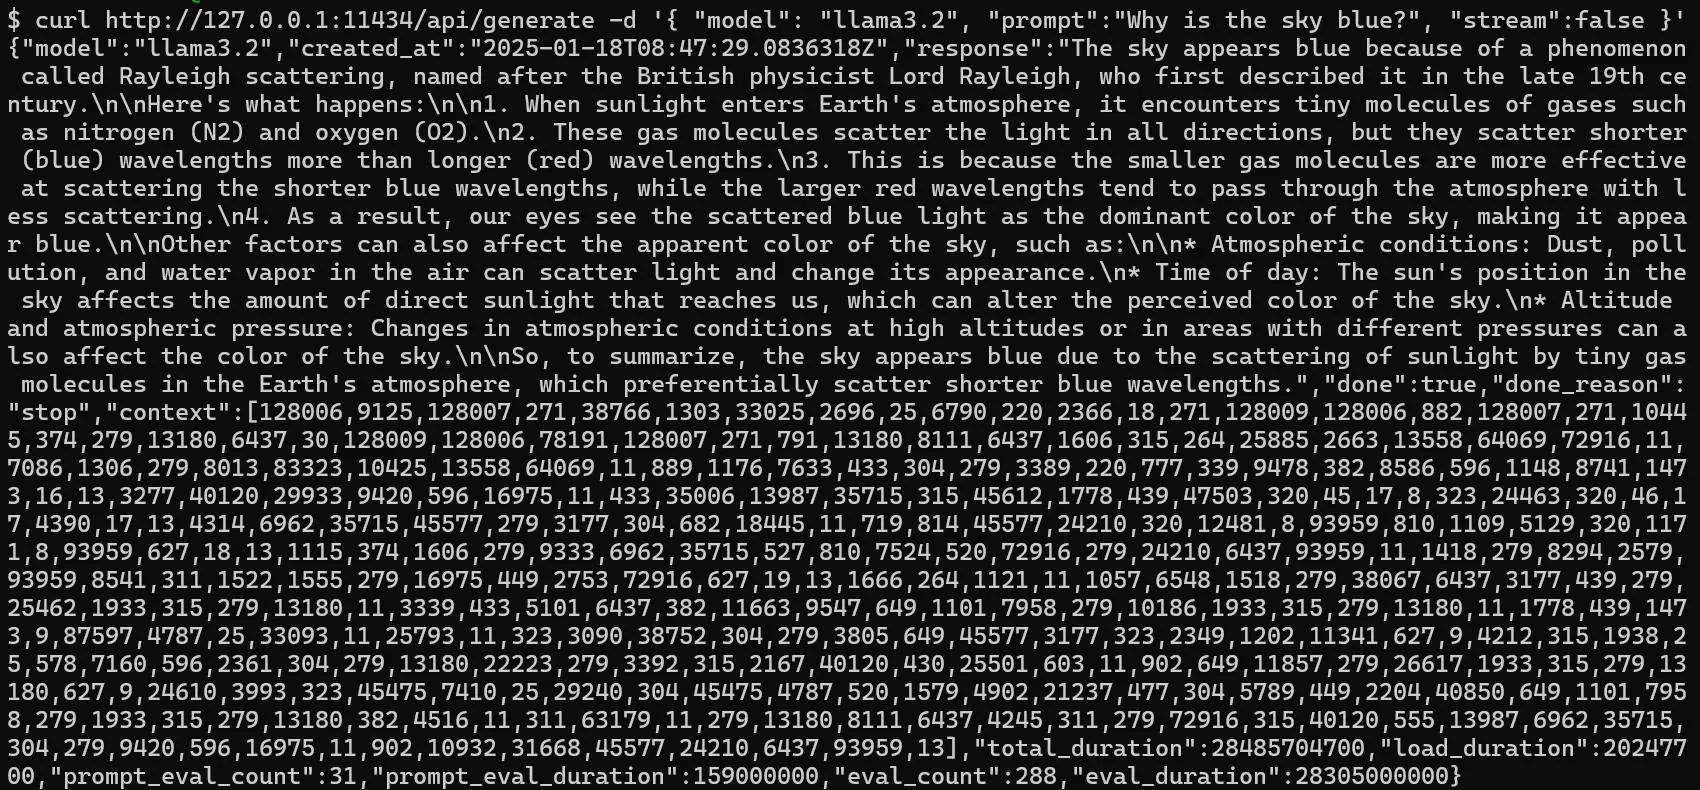
- Model conversation:
curl http://127.0.0.1:11434/api/chat -d '{ "model": "llama3.2", "messages": [{"role": "user", "content": "Why is the sky blue?"}] }'
For more parameters and usage, refer to the API documentation: API Documentation
OneAPI Integration
OneAPI has completed the deployment, allowing all large models to be encapsulated into OpenAI protocols with one click. OneAPI also supports Ollama models; you just need to add an Ollama channel in OneAPI.
Open WebUI Interface Setup
Open WebUI is an extensible self-hosted WebUI, formerly known as Ollama WebUI, providing a visual interface for Ollama, supporting complete offline operation and compatibility with OpenAI APIs.
Deployment
Deploy Open WebUI with Docker:
Since we have already deployed Ollama, use the following command:
docker run -d -p 3000:8080 --add-host=host.docker.internal:host-gateway -v open-webui:/app/backend/data --name open-webui --restart always ghcr.io/open-webui/open-webui:mainParameters explanation:
--add-host=host.docker.internal:host-gateway: Add a hostname mapping to pointhost.docker.internalto the host gateway for easy container access to host services.-p 3000:8080: Map port 3000 on the host to port 8080 in the container.-v open-webui:/app/backend/data: Mount theopen-webuidirectory to the container for data persistence.--name open-webui: Specify a name for the container.--restart always: Automatically restart the container when it exits.
If you haven't installed Ollama before, you can use the following image (packaged with Ollama + Open WebUI):
docker run -d -p 3000:8080 -v ollama:/root/.ollama -v open-webui:/app/backend/data --name open-webui --restart always ghcr.io/open-webui/open-webui:ollamaUsage
After opening port 3000 on the host firewall, go to:
http://127.0.0.1:3000/Register an account and select a model. Since we only deployed ollama3.2, let's try it first:
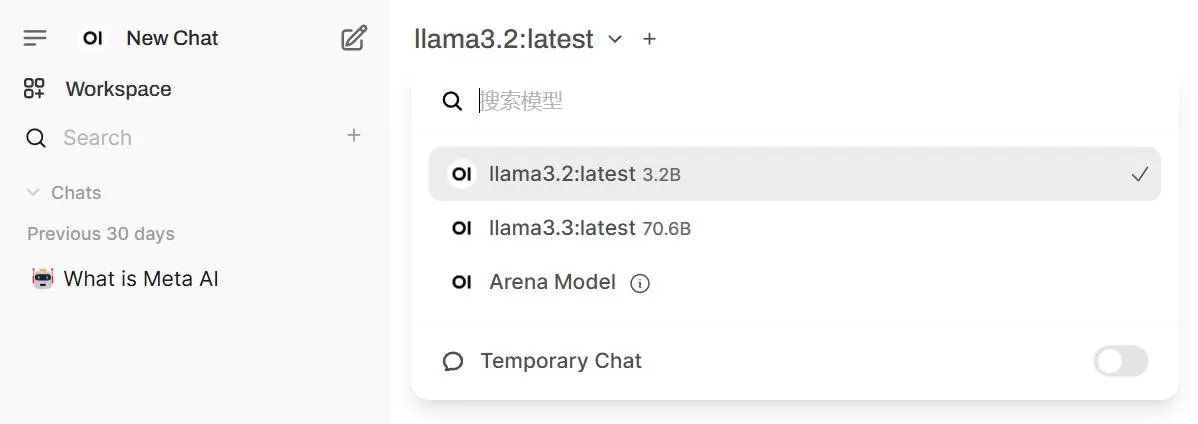
You can set system prompts and model parameters in the top right corner. In the personal settings, you can find built-in TTS services. In the admin panel, there are more exploratory features, such as image generation, which also support calling if you have deployed StableDiffusion.
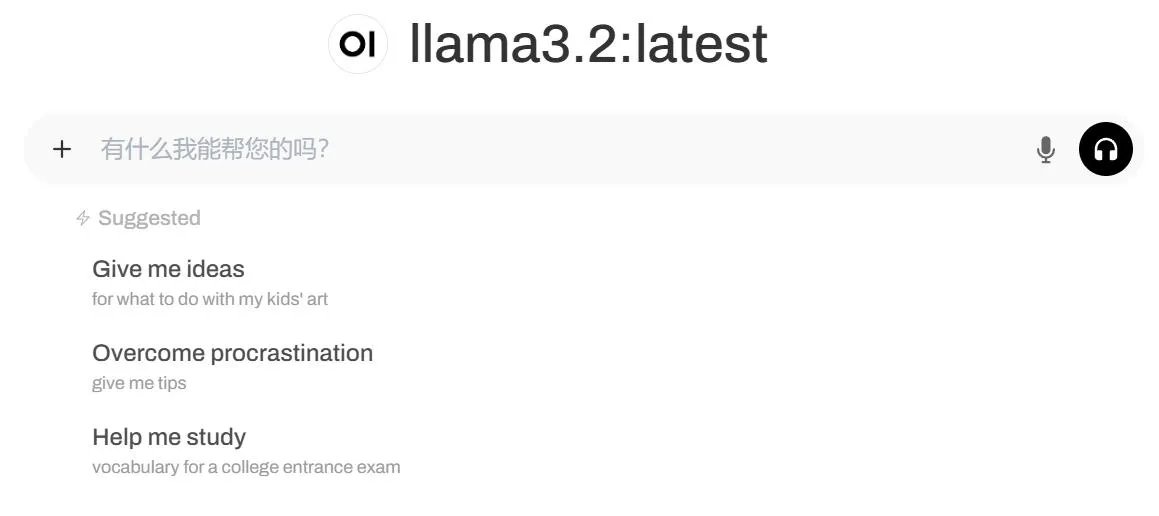
Open WebUI is very powerful, with more features available in the official documentation: Official Documentation
Conclusion
With Ollama, you can quickly start and manage models with simple command-line operations, greatly reducing the technical threshold. Users can focus on model applications without worrying about underlying technical details. Additionally, Ollama's offline operation provides data security.
Explore more interesting AI application scenarios with Ollama and promote the application of large model technology.
